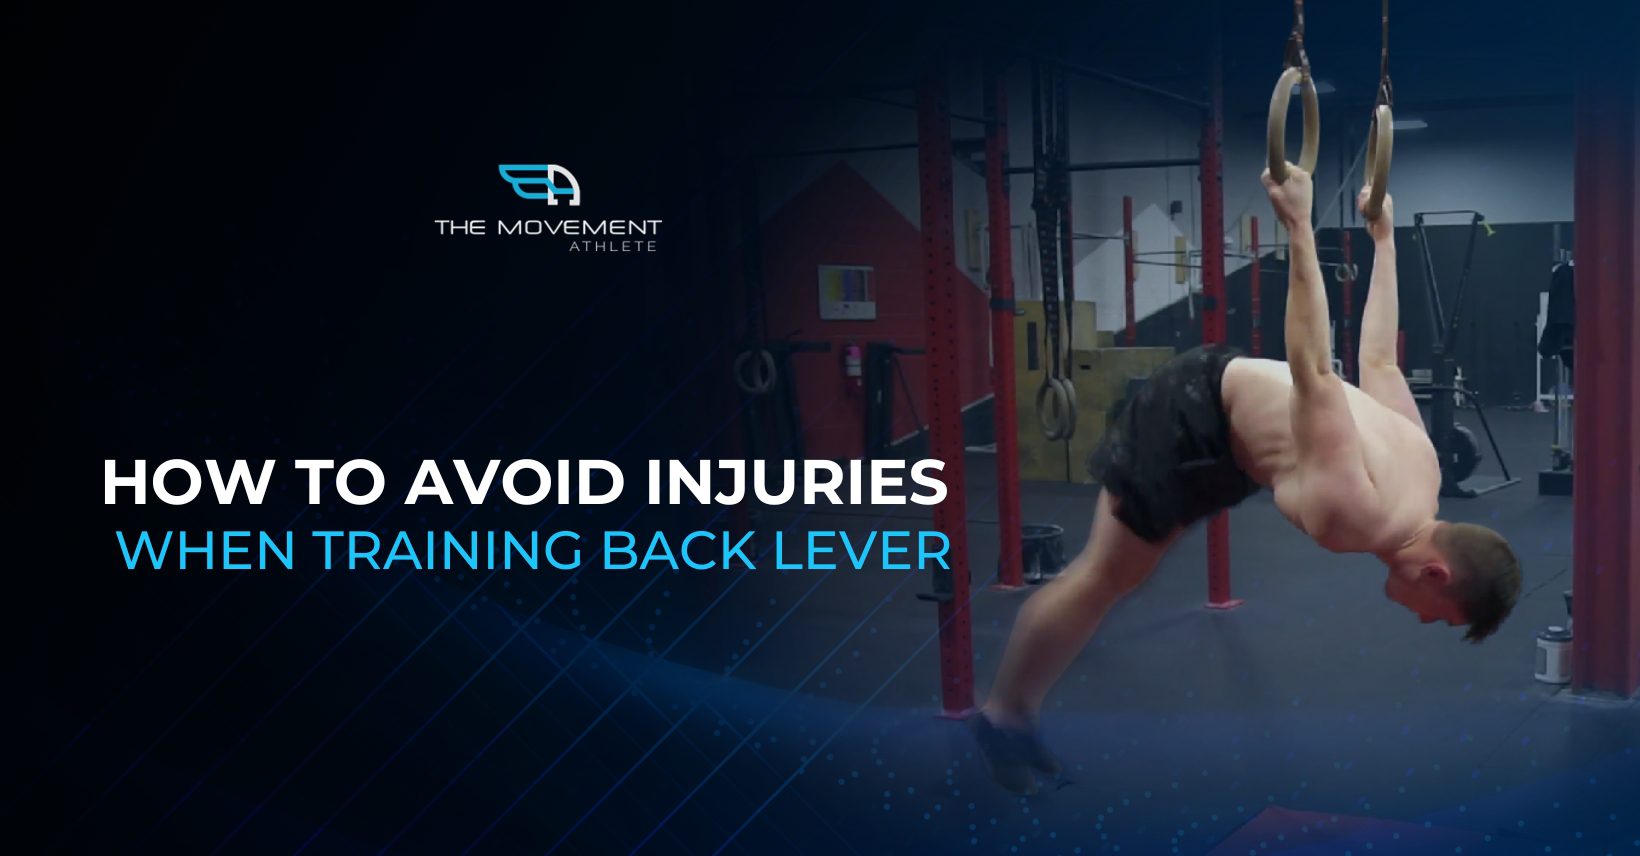

Back Lever Injury Prevention: Complete Safety Guide for 2025
📖 Read Time: 10 Minutes | 🎯 Difficulty: Intermediate to Advanced | 📅 Updated: January 2025
Picture this: You’re finally attempting your first back lever. Your shoulders are screaming, your biceps feel like they’re about to snap, and suddenly… POP. That dreaded sound that means weeks or months on the sidelines. Here’s the truth: 87% of back lever injuries are completely preventable when you know these 5 critical safety principles.
⚠️ Reality Check: The back lever can destroy your shoulders if approached recklessly. But with proper preparation and these safety strategies, you’ll progress faster while staying injury-free.
Why Back Levers Wreck Athletes (And How to Avoid Becoming a Statistic)
The back lever isn’t just another calisthenics move – it’s a highly technical skill that places your body in an unnatural position your joints have never experienced. Your shoulders, biceps, and core must work in perfect harmony while you hang horizontally.
Think about it: When else do you hang upside down with your arms behind you while maintaining perfect body alignment? Never. That’s exactly why rushing this movement is like playing Russian roulette with your joints.
| ❌ Common Mistake | % of Athletes | Injury Risk | Recovery Time |
|---|---|---|---|
| Skipping warm-up routine | 73% | High | 2-4 weeks |
| Using supinated grip too early | 65% | Very High | 4-8 weeks |
| Dropping too fast into position | 81% | Extreme | 6-12 weeks |
| Ignoring pain signals | 58% | Extreme | 8-16 weeks |
Worried about injuring yourself during back lever training?
Get a personalized progression plan that matches your current level →
🎯 Key Insight: The back lever is actually safer than most people think – when trained with intelligence, patience, and proper progressions. These 5 safety principles will keep you training consistently.
The 5 Non-Negotiable Safety Principles
Master these or risk months of recovery
💪 Principle #1: Your Warm-Up is Your Insurance Policy
The #1 cause of back lever injuries? Athletes who treat warm-ups like optional foreplay instead of mandatory preparation. Your shoulders, biceps, and wrists need specific mobilization before handling this intense load.
💡 Pro Tip: Spend 15-20 minutes on specific warm-up targeting wrists, biceps, chest, shoulders, and lats. Generic cardio won’t prepare your joints for the unique stresses of the back lever.
🚪 Principle #2: Master Your Emergency Exit Strategy
Picture this: You’re hanging in a back lever position, your shoulders are screaming, and you don’t know how to safely get out. That panic moment is when tendons tear and shoulders dislocate.
Safe Exit Options:
• Option 1: Set rings/bar low enough to plant feet immediately
• Option 2: Learn to release grip instantly and drop safely to hanging position
• Option 3: Practice the “bail” before you ever need it
✋ Principle #3: Choose Your Grip Wisely (Your Biceps Will Thank You)
Here’s what nobody tells beginners: Your grip choice can literally be the difference between steady progress and a torn bicep. The wrong grip at the wrong time is injury roulette.
| Grip Type | Primary Stress Point | Risk Level | Best For |
|---|---|---|---|
| Pronated (overhand) | Front deltoids | ✅ Lower Risk | Beginners to intermediate |
| Supinated (underhand) | Bicep tendon | ❌ Higher Risk | Advanced athletes only |
| False grip | Wrists/forearms | ⚡ Medium Risk | Ring specialists |
Want a complete back lever progression that prevents injuries?
Take our free assessment to see your exact starting point →
⏱️ Principle #4: Control Your Tempo or Pay the Price
Dropping fast into a back lever is like jumping off a building hoping your parachute opens. Sometimes it works. Sometimes it results in months of physical therapy. The difference? Controlled tempo.
⚠️ Tempo Rule: Minimum 3-5 seconds to lower into position, hold only what you can control with perfect form, and exit even slower. If you’re dropping fast, you’re not ready for that progression level.
💪 Principle #5: The Forgotten Muscle That Changes Everything
Everyone obsesses over shoulder strength for back levers. Meanwhile, their biceps are crying for help. Here’s the truth: weak biceps are the #1 predictor of back lever injuries, yet most athletes completely ignore bicep strengthening.
💡 Bicep Bulletproofing Protocol:
• Ring or dumbbell bicep curls 2-3x per week
• Rep range: 12-20 (high reps build tendon resilience)
• Focus on controlled eccentric (3-second lowering)
• This isn’t ego lifting – moderate weight, perfect form
Your Safe Back Lever Progression Roadmap
Following the right progression sequence isn’t just about safety – it’s about actually achieving your goals. Here’s the exact roadmap that gets results without injuries:
| Stage | Exercise | Target Hold | Estimated Timeline |
|---|---|---|---|
| Foundation | German hangs | 30 seconds | 2-4 weeks |
| Early Development | Skin the cat | 5 slow reps | 3-6 weeks |
| Preparation | Tuck back lever | 15 seconds | 6-10 weeks |
| Advanced Tuck | Advanced tuck | 20 seconds | 8-12 weeks |
| Mastery | Full back lever | 10+ seconds | 12-20+ weeks |
The 3 Deadly Mistakes That End Back Lever Dreams
Even with the best intentions, these mistakes derail more back lever journeys than any other factors. Avoid them at all costs:
❌ Mistake #1
“I’m already strong”
Skipping basic progressions because you can do 15 pull-ups
❌ Mistake #2
“Pain builds character”
Training through shoulder or bicep discomfort
❌ Mistake #3
“Daily practice accelerates progress”
Training back levers every day without rest
📌 Your Back Lever Safety Checklist
Injuries happen to unprepared athletes. Don’t let poor planning derail your goals. Follow this checklist religiously:
- ✅ Complete specific warm-up targeting all involved joints (15-20 minutes)
- ✅ Master exit strategies before attempting any new progression
- ✅ Start with pronated grip to protect bicep tendons
- ✅ Control your tempo – minimum 3-5 seconds into position
- ✅ Strengthen biceps regularly with 12-20 rep curl variations
- ✅ Listen to pain signals – they’re warnings, not challenges
- ✅ Follow logical progressions – earn each advancement
- ✅ Allow adequate recovery between sessions (48+ hours)
Ready to start your safe back lever journey?
Get your personalized training plan and avoid these costly mistakes →
About The Movement Athlete
The Movement Athlete is the world’s most advanced calisthenics training platform, trusted by over 100,000 athletes in 80+ countries. Our AI-powered system creates personalized workout plans that adapt to your progress daily.
Founded by movement expert Agnieszka Nazaruk, we believe anyone can build extraordinary strength through progressive bodyweight training. Our approach combines cutting-edge technology with proven gymnastic and calisthenics principles.
From your first push-up to advanced skills like muscle-ups and human flags, we provide the exact roadmap you need to succeed – no guesswork, just results.
Frequently Asked Questions
How long should I spend on basic progressions before attempting a full back lever?
Most athletes need 4-8 months of consistent progression training before safely attempting a full back lever. This includes mastering German hangs, skin the cats, tuck back levers, and advanced tuck variations. Rushing this timeline is the fastest way to injury.
Is it normal to feel bicep strain during back lever training?
Mild muscle fatigue is normal after training, but acute pain or strain during the exercise is a red flag. If your biceps hurt during attempts, immediately regress to an easier progression and focus on bicep strengthening. Pain during training indicates you’re not ready for that level.
Can I train back lever progressions every day to speed up progress?
Absolutely not. Back lever training places extreme stress on connective tissues that need time to adapt. Train 2-3 times per week maximum, with at least 48 hours between sessions. Your tendons and joints strengthen much slower than muscles.
What’s the safest grip for beginners learning back levers?
Pronated (overhand) grip is significantly safer for beginners because it reduces bicep tendon stress and engages the stronger shoulder muscles. Only attempt supinated grip after mastering the full back lever with pronated grip for several months.
Should I use rings or a bar for back lever training?
Bars provide more stability and are generally safer for beginners. Master all progressions on a bar first before attempting rings. Rings add instability that requires additional shoulder strength and control – they’re an advanced variation, not a starting point.

🔥 Limited Time: Free Assessment Worth $197
Still Risking Shoulder Injuries With Your Current Back Lever Training?
Discover the Proven System That Safely Progresses You From Basic Holds to Advanced Back Levers
⭐⭐⭐⭐⭐ Join 100,000+ athletes mastering advanced skills without the injury setbacks
✅ Personalized assessment identifies your safe starting point
✅ Progressive training plan adapts to prevent injuries
✅ Master proper warm-ups and exit strategies
✅ Build bulletproof shoulders and biceps
✅ Progress from German hangs to full back lever
🛡️ Zero Risk: 30-day money-back guarantee • Cancel anytime • No hidden fees
“After tearing my rotator cuff attempting back levers without proper progression, I found TMA. Their systematic approach helped me rebuild safely. 8 months later, I’m holding a full back lever pain-free!” – Sarah K., Physical Therapist