
📖 Read Time: 12 Minutes
🏋️ Join the tribe of Movement & Calisthenics Athletes
People just like you that are working with their own body weight to get strength, lose fat, build muscle, recover from injuries and live their best lives!
Calisthenics is known for its accessibility which is very much true. 💪
You can definitely build your amazing, healthy, lean body through calisthenics alone and without any fancy equipment.
But if you want to get the most from your workout and in the most efficient way possible (and add more fun to your routine), you will actually need to have SOME pieces of equipment. Still, nothing fancy.
Here’s ideally what you need: 👇👇👇
Essential Calisthenics Equipment Overview
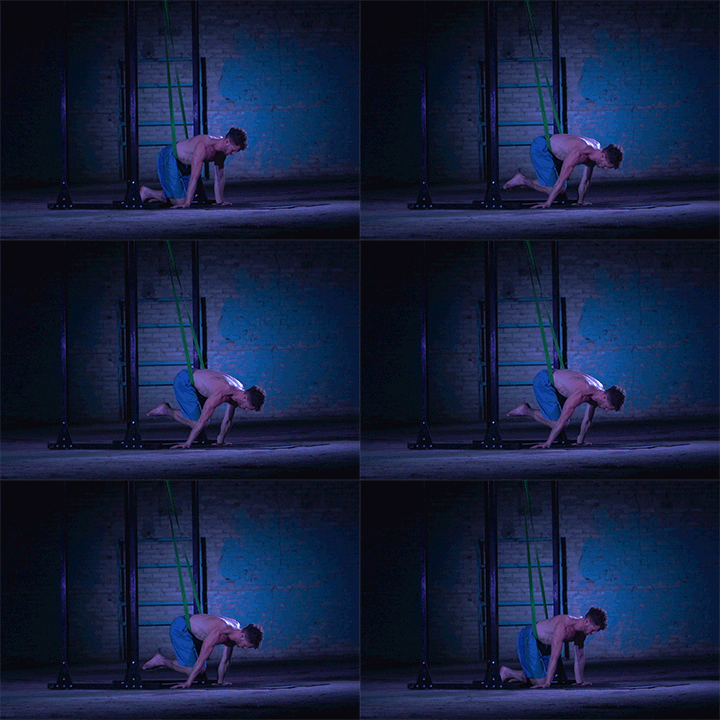
Resistance Bands
Commonly used for adding resistance to increase the difficulty of exercises, bands can also reduce resistance to make some exercises easier. It can also assist in learning gravity-defying calisthenics/gymnastics skills where each progression has a steep change in difficulty such as planches or levers.
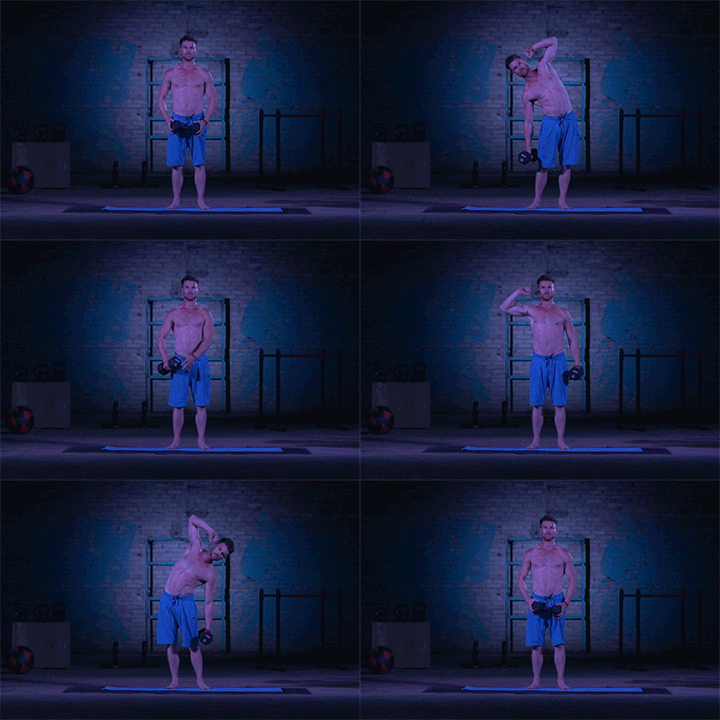
Weights
Weights, when combined with calisthenics, are excellent for building massive strength and muscle. It’s easy to use and easy to adjust depending on one’s level. This can take the form of weight plates, dumbbells or kettlebells.
Bar
This equipment is vital for many basic and advanced calisthenics exercises such as the pull-ups, muscle-ups, straight-bar dips and much more.
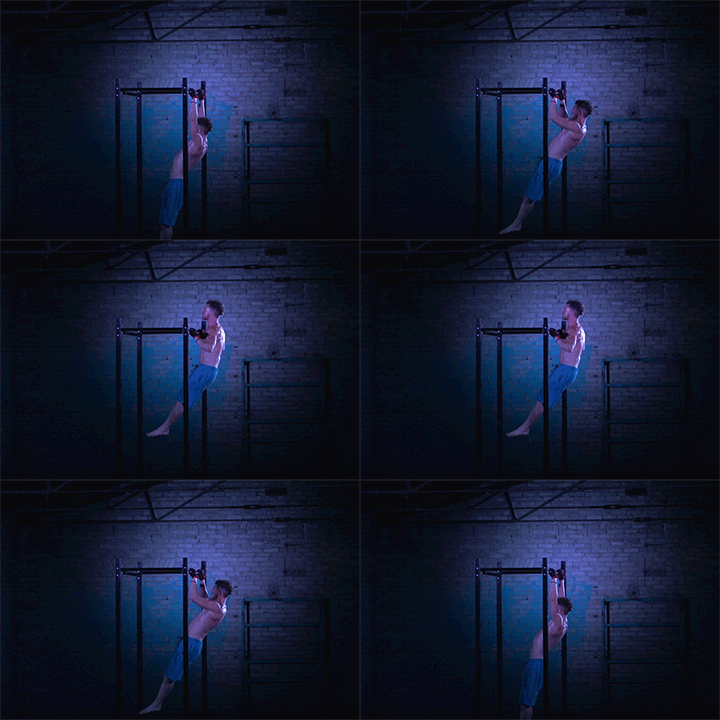
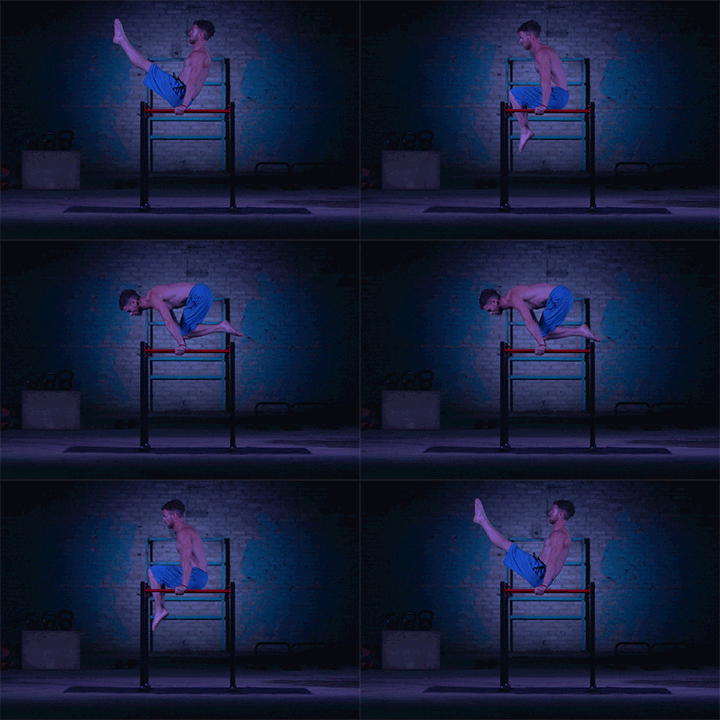
Parallettes
Originally as a gymnastic device, parallettes simulate the parallel bars of gymnastics. It has many uses in calisthenic, but primarily it is used for changing wrist position in hand balancing skills.
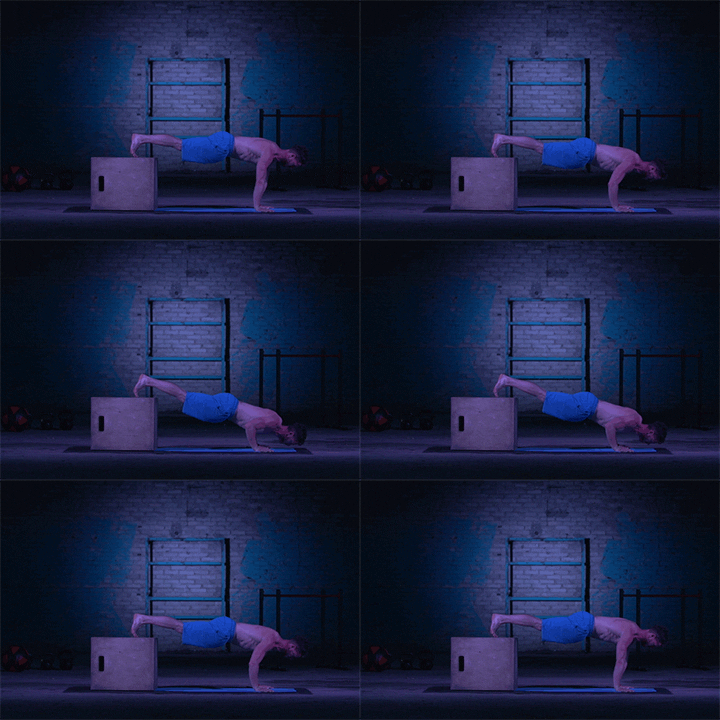
Surfaces (0.5m , 1.0m)
You can adjust the difficulty of calisthenics exercises through changing the position you execute a particular exercise. Surfaces (usually in the form of plyo boxes), is a very useful tool to change the level of tons of exercises.
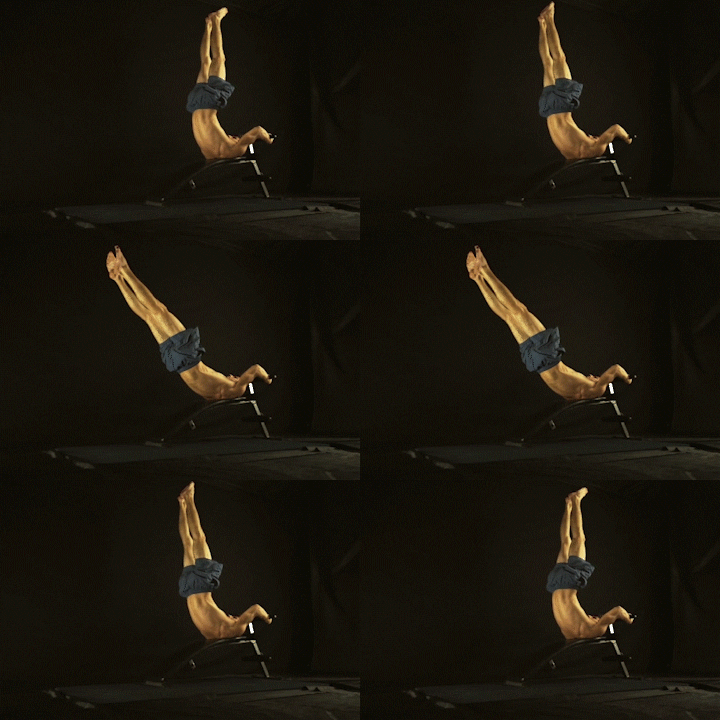
Base Hold
Base hold have many uses especially for training your core and mobility. While this might take many form and shapes, base hold is commonly in the form of a workout bench.
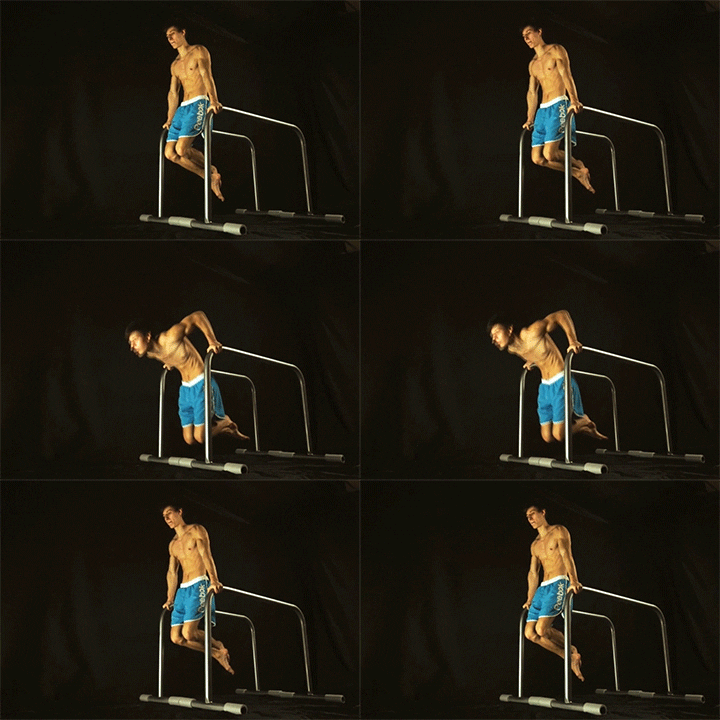
Dip Station
As the name suggests, the dip station is where you can train your dips. You can also train ab exercises and hand balancing exercises in this equipment.
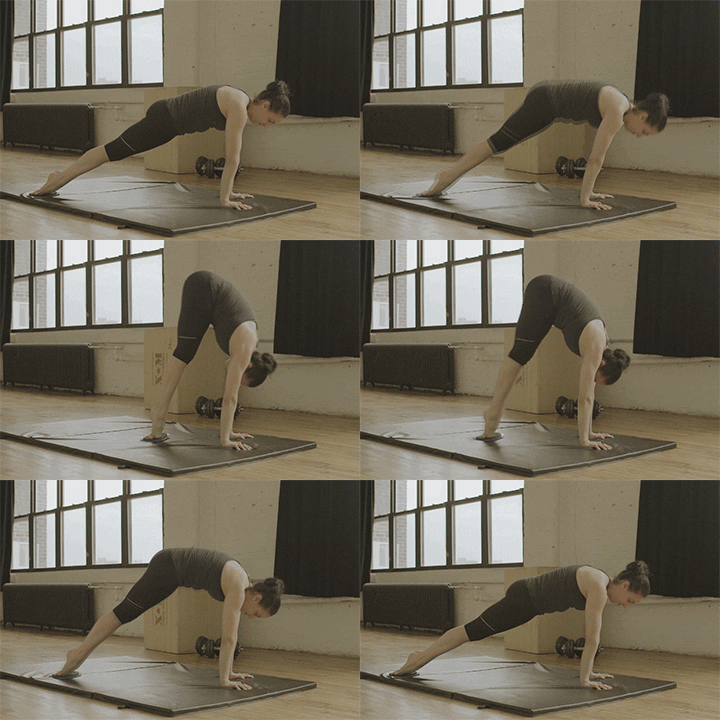
Sliders
Some calisthenics movements require you to slide your feet or arms to execute the movement. Sliders are a simple, accessible way to do this without having to worry about burnt skin.
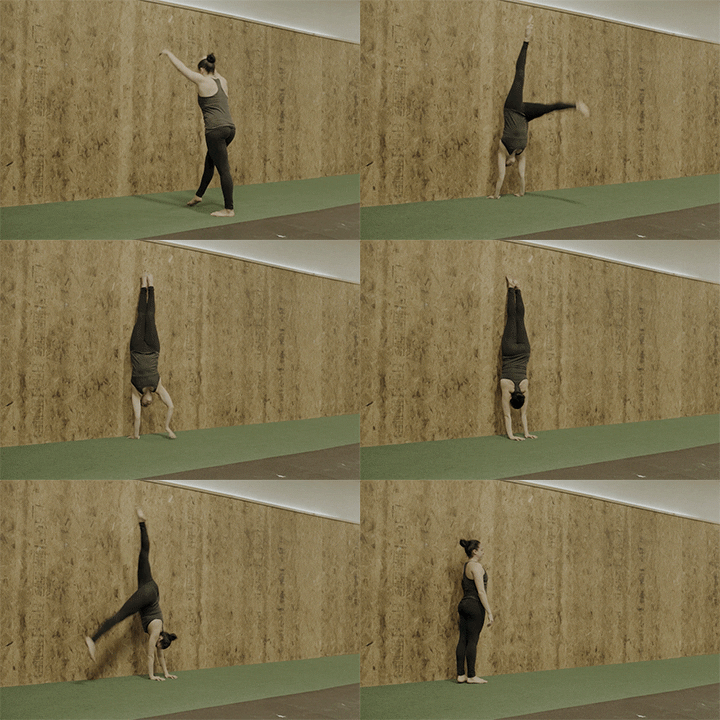
Wall
A very accessible way to assist you especially in hand balancing skills is by using a wall. Very straightforward, a clear, plain, flat and durable wall is needed.
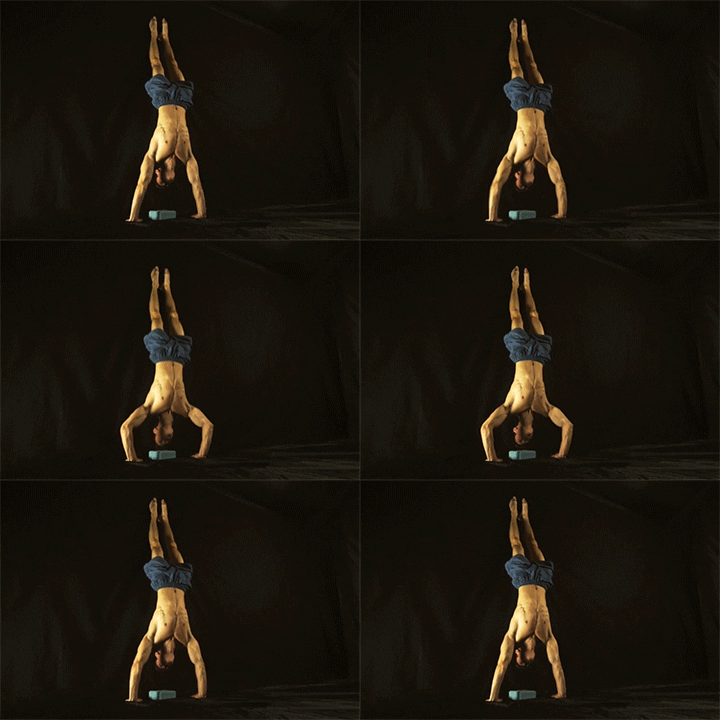
Head Pads/Mat
When learning handstand push-ups, it’s best to be safe by using head pads or mats. While keeping you safe, it also boosts your confidence in doing the skills.
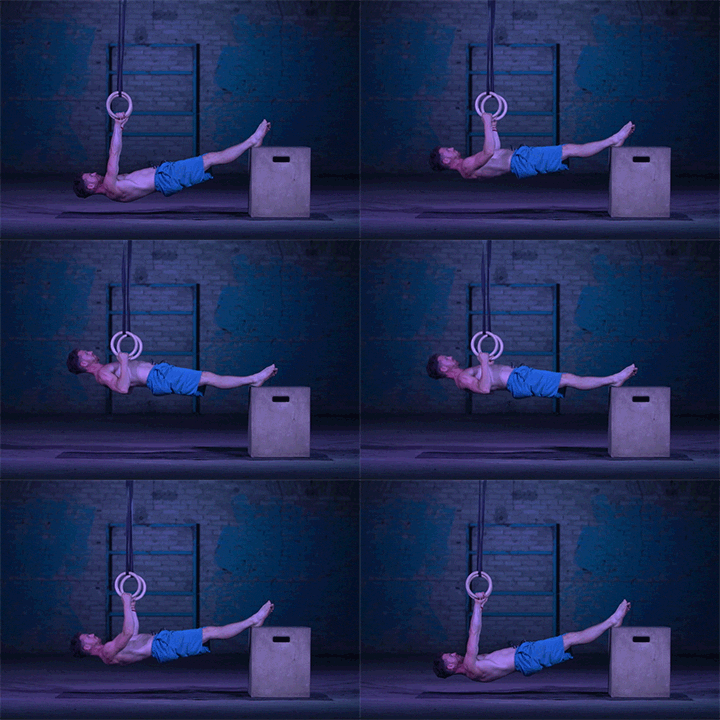
Gymnastic Rings
Gymnastic rings are also from the professional gymnastics sport. These apparatus allows you an unlimited array of bodyweight exercises. It is great for increasing and decreasing exercises difficulty.
Detailed Equipment Guide & Alternatives
Whether you want to get stronger, build muscle, lose fat, do both (which is totally possible. If you’re interested, read more here) or whatever your goal in your training, one of the rules in order to improve in calisthenics is by progressively adding resistance.
Using equipment in calisthenics doesn’t necessarily lose the essence of bodyweight training. As a matter of fact, it enhances it. 💪
The great thing is that these pieces of equipment are affordable OR very accessible in which you can use other seemingly random things in substitute to the equipment I’m talking about.
Today, we’re going to talk about what items in our environment can we creatively use to assist us to reach our calisthenics goals!
Keep in mind that these are just some ideas for the alternatives. You can choose whatever equipment is accessible for you!
Not sure where to start with your calisthenics journey? Take our free assessment to get a personalized training plan based on your current fitness level.
1. ✅ RESISTANCE BANDS (3 levels difficulty)

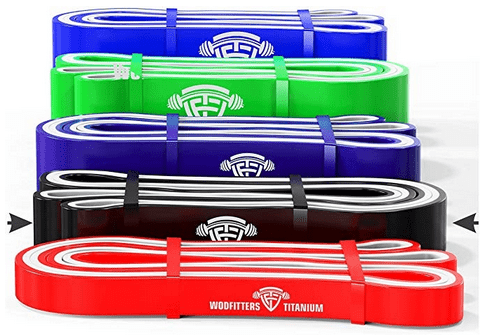
These are used to either assist you in progressing with difficult skills such as planche or levers by carrying some of your weight. Bands can also add weight to some exercises such as push-ups and squats. They also have varying elasticity to cater to the level you’re in.
You would want to have these 3 levels of the standard 41 inches long resistance bands:
• 70-100 lbs (31-45 kg) of resistance
• 50-80 lbs (23-36 kg) of resistance
• 30-50 lbs (14-23 kg) of resistance
The more resistance, the more assistance it could give to you for planche, pull-up, muscle-ups, dip training. The less resistance, the less help it could provide.
Ideally, you would want to buy these bands since they last a long time and are fairly cheap.
A creative way to replace this?
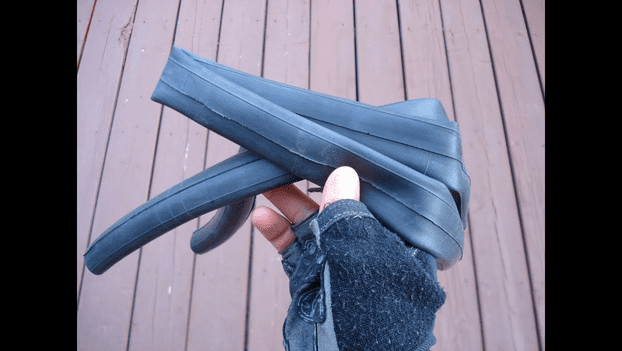
You can try to get some bicycle inner tubes which cost cheaper than resistance bands. You just have to test out the resistance it can provide you since not all inner tubes are created equal.
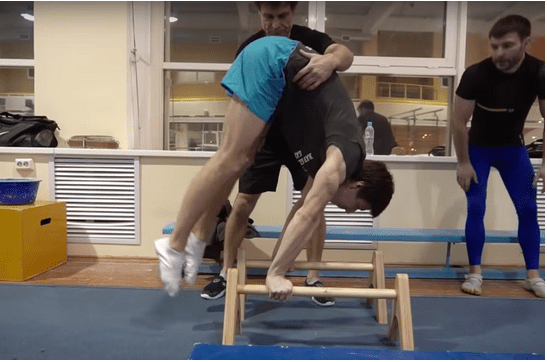
If you have a training partner, you have your next resistance band. Find a training buddy or friend who is willing to assist you in your training. They can either spot you by carrying some of your weight for certain exercises. They can also add weight by pushing you down in push-ups for example. The best thing is, aside from having an alternative to resistance bands, that you have someone beside you who can motivate and push you even further. Of course, you also should have his/her back.
But then again, the best thing would be buying a set. It’s affordable and really could help you with your training in the long run and even if you’re alone. Click the photo below to check out a good deal.
2. ✅ WEIGHTS

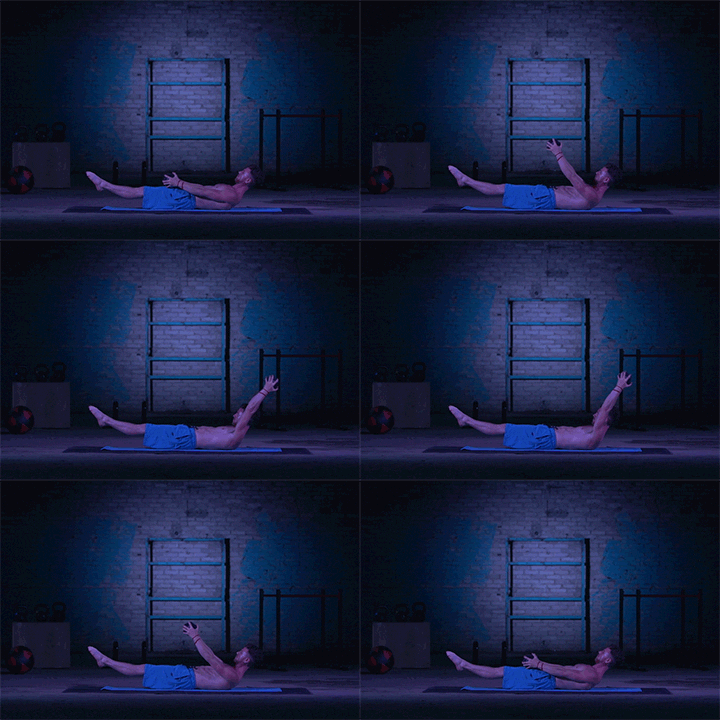
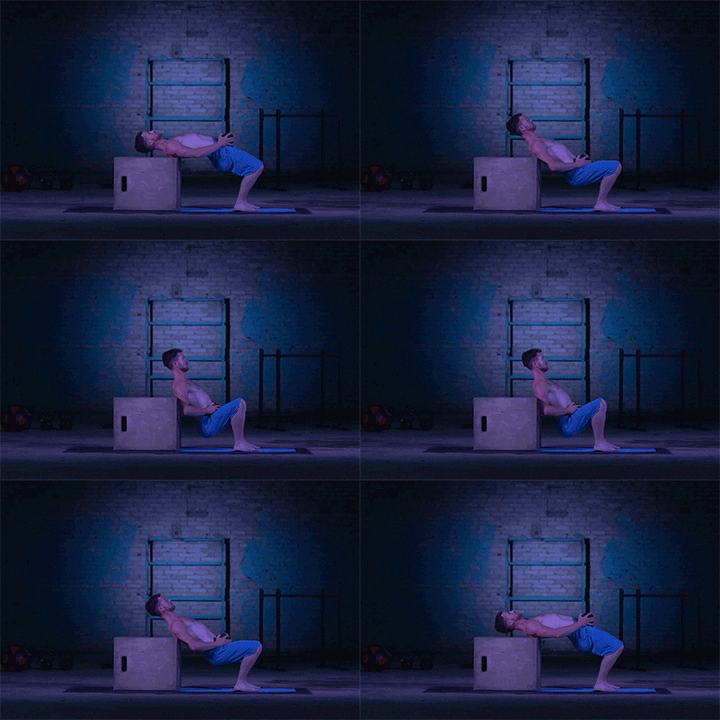
Nope, we’re not shifting to the other side and forgetting about calisthenics. We’re going to use weights for our weighted calisthenics training to progress even further. The exact pieces of equipment we’re looking for are dumbbells, kettlebells or weight plates.
Yes, your friend could also act as weights like what we’ve discussed earlier but you can’t really measure the resistance you are receiving.
A better option would be getting a bag or other sturdy container you can fill with sand. Sand is a very accessible or cheap alternative. You can also weigh your alternative weights so you can progress more accurately. Canvas bags are also a good container for the hand. Just make sure the handles are durable enough.

If you have the resources, you can also make your own weights with cement and liquid containers with handles. Similar as seen in the photo below. It’s fairly cheap and easy to do.

3. ✅ BAR

Bars are a piece of staple equipment for pull exercises. You’ll need them for your pull-ups, muscle ups and inverted rows. You’ll also need different levels of bars for different exercises.
If you don’t have access to gyms or you can’t or don’t want to create your own bar station, you still have unlimited alternatives to it.
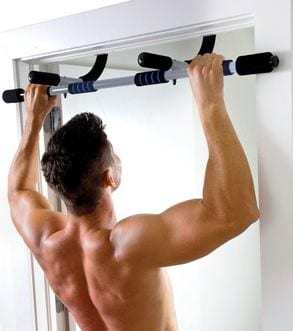
Just find something sturdy enough to carry a bit more than your bodyweight. This could be a large tree branch, support beams in your house, an edge of a wall or even the side of your staircase. The grip would vary depending on your chosen alternative but overall, you will still hit you’re targeted muscle groups. Test carefully your alternative so you can remain safe.
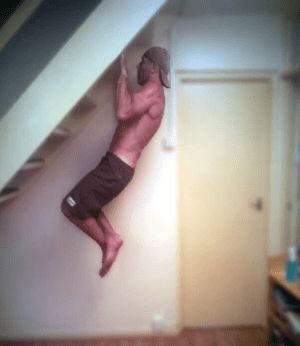
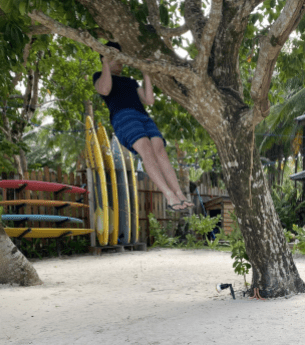
But it’s best to invest a little bit on doorframe pull-up bars. It’s very easy to install and very safe as long as you follow the instructions and your door frame can handle the load. It’s very effective and you can also strap your gymnastic rings to it.
Click the photo below to see the deals available for affordable but durable pull-up bars!

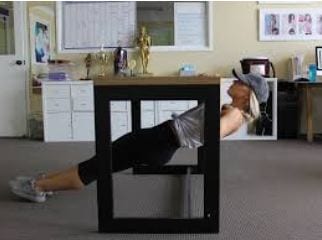
For lower bars to execute inverted rows, look for something sturdy and low enough for your skill level. This could be a kitchen counter or a tabletop. Hang on the edges with a strong grip then bust out your rows like there’s no tomorrow. You could also get a towel. Slightly open a door and wedge it. Wrap your towel around the doorknobs for then grip each end of the towel. This is now your place for inverted rows with a neutral grip. Just be sure you’re door, doorknob and wedge are sturdy enough! The last thing we want is to have a broken back and a broken door. Ouch! Stay safe.
Here’s a video of the TappBrothers, calisthenics and fitness experts, giving you some good ideas for your pulling exercises equipment alternative.
4. ✅ PARALLETTES

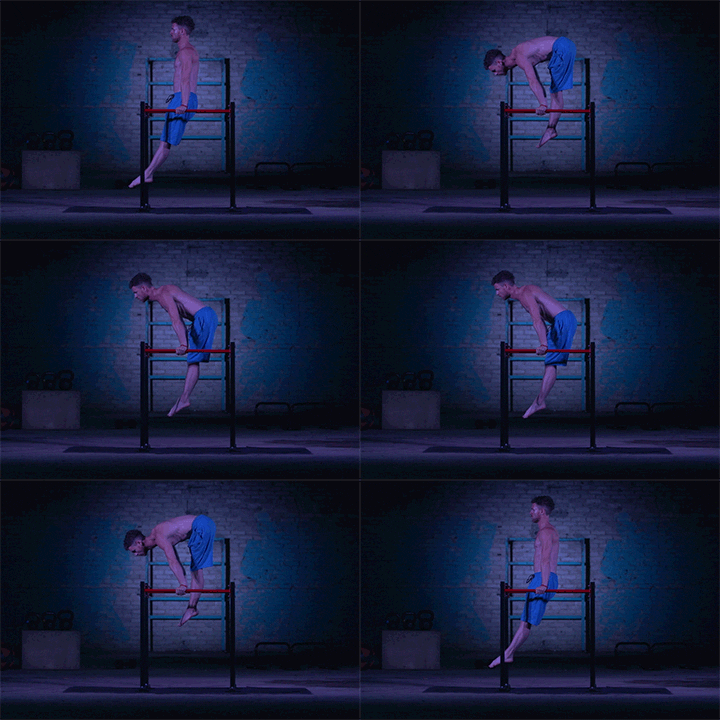
This is a gymnastic based equipment designed to elevate your hand balancing skills. You could also use these to add difficulty in your pressing exercises like push-ups and planche push-ups.
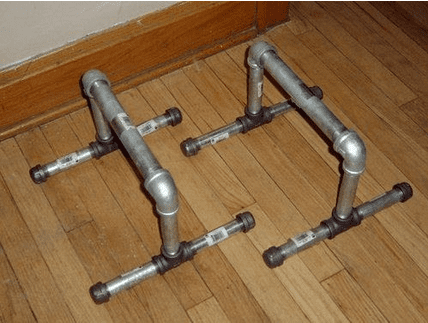
You could always buy parallettes since they’re already cheap. You may also make a pair on your own with a couple of PVC pipes or wooden or iron rods. Make sure to make the base sturdy as possible. You could get help from your friendly neighbourhood Youtube for guidance similar to this video here.
If you’re not up to the DIY challenge, you could go to your park and look for monkey bars that could act as your parallettes. If you also have dumbbells, make sure it won’t move and you already have a good pair of parallettes.
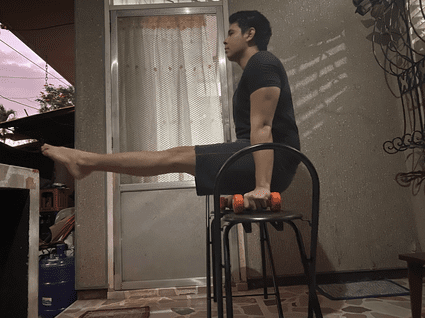
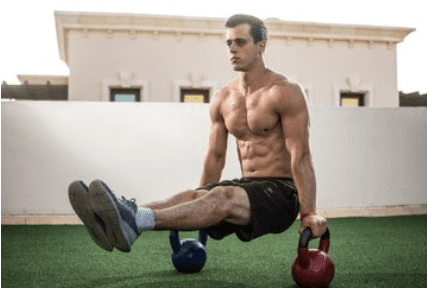
Flat-bottomed kettle bells are also a great option as a substitute for parallettes.
5. ✅ Surfaces (0.5m, 1.0m)

Flat, even, sturdy surfaces are needed for adjusting the difficulty of some of your exercises. Some exercises that these surfaces will help are the push-ups, decline push-ups, handstands, bench dips, and assisted squats to name a few. The surface will be able to spot you so you can do the easier variation of the exercise. For the decline push-ups or handstands, the surface will be able to help you increase the difficulty by increasing the height.
There are tons of alternatives to choose from for this equipment. Chairs, walls, tables, furniture, trees, boxes, benches people, you name it. Again, be sure that your chosen equipment is sturdy enough and can handle more than your bodyweight to be on the safe side. It’s also ideal to measure the height of where you are going to place your feet on so you can progress accordingly if you need to increase or decrease the height.
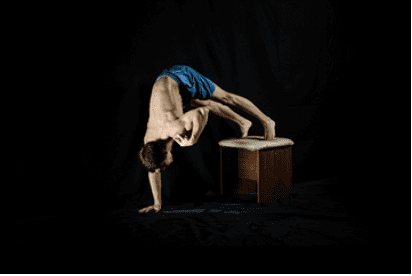
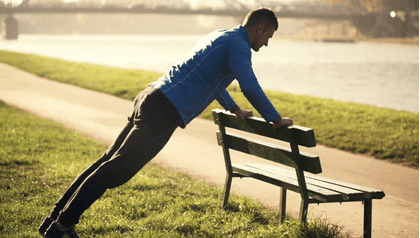
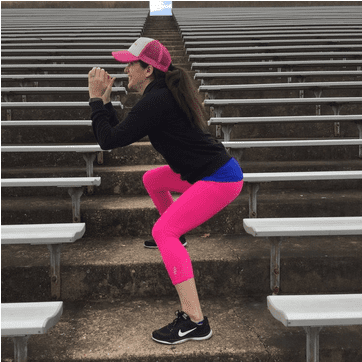
Photo retrieved from LeaGendersFitness
6. ✅ Base Hold

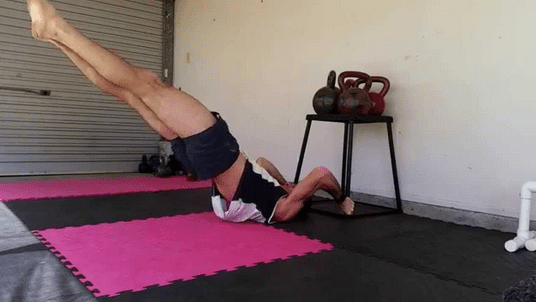
Base holds are good for training your dragon flags, glute/hamstring hinge or human flag exercises. All you need is something sturdy to hold on to.
A good option for human flags is heavy bench, furniture or poles. Thickness of the pole will depend on the availability in your environment. Thickness will affect the difficulty of the exercise. The thicker the more difficult; the thinner, the easier. If it’s thin, be sure it’s sturdy enough!
For the dragon flags and glute/hamstring bridge, you’ll have more options. It will be something you can hold on above your head while you are lying for the dragon flag position or something you hold your legs for the latter exercise. Ideally, it’s heavy enough so that your body can balance out. It can be the bottom of your bed or a bench. It could also be your training partner who’s going to hold you down into position.
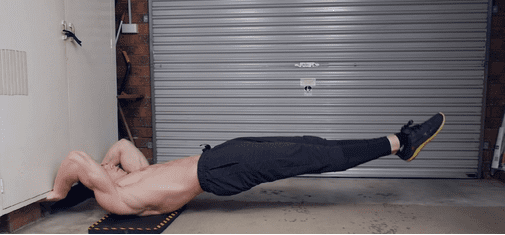
Photo from Daniel Vadnal of FitnessFAQs.
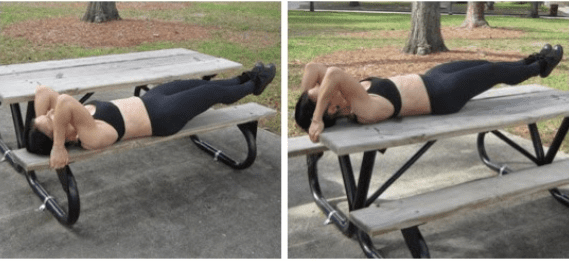
Photo retrieved from Adrienne Harvey
7. ✅ Dip Station

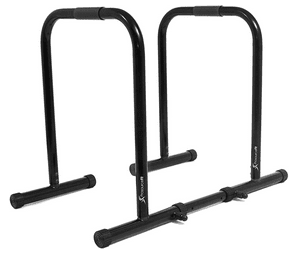
Dip stations are for, you’ve guessed it, dips! These equipment could range from cheap to quite expensive depending on the quality and the inclusion of the equipment. Some dip stations also include a pull-up bar or other systems.
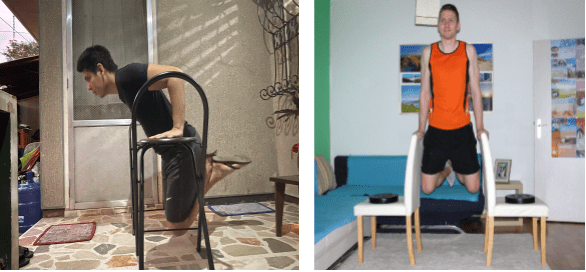
You can also build your own dip station using good wood and some poles or PVC pipes. If you’re not up for construction, you can look for a monkey bar and squeeze yourself in the middle of the bars. You could also use 2 chairs or tables as your dip station. The downside to this is that you’ll put a bit more strain on your wrist because dip stations have grip handles. With the chairs for dips, you’ll have to flex your wrist for the exercise and this might be a hindrance to your maximum effort. The good side to this is that you’ll also strengthen your wrists.
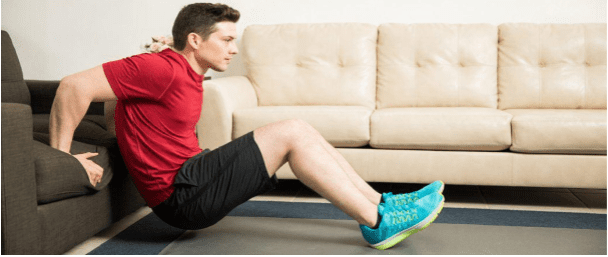
For easier dip variations, a sturdy bench can do the trick. It’s very accessible. You might already have one at home or a simple jog to your local park (great as a warm-up, too) will provide you an endless supply of benches to dips on.

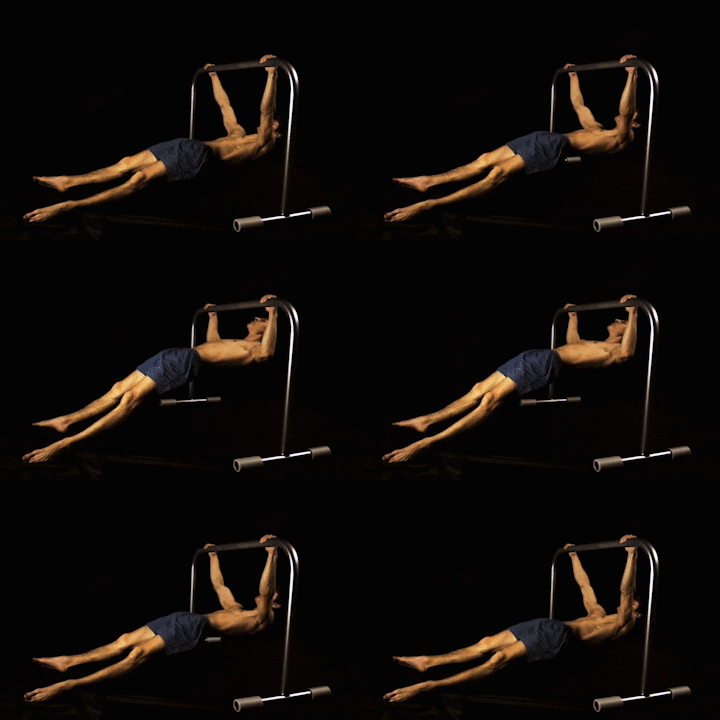
But then again, dip stations are usually very affordable and can serve its purpose for a long time. Aside from doing dips here, you can also use the equipment for bodyweights rows and pull-ups as well.
You can find a number of dip station at a good value anywhere on the internet. Click here to check out some good selections.
8. ✅ Sliders

Also known as gliders, these are used to make you slide from your position making the exercise a tad more difficult. Sliding causes you to become unstable so you’ll have to activate your core even more for control. Sliders can also be used to make some dynamic exercises a tad easier to lessen the friction on the ground. An example of these is the toe-drag press-to-handstand progression. The sliders help you lessen the effort you need to drag your feet towards your arms while you still cannot lift your lower body yet for the press-to-handstand.
The most accessible option would be socks. Just wear socks when training on a slippery surface then you’re already good to go. You could also use a piece of cloth or towel that’s properly folded.

Photo retrieved from Strength Training Site.
The key point is that your floor should be very smooth, clean and even for the equipment to be effective. Try wearing socks on a concrete road. Even if you add lubricant, you will never glide on that surface!
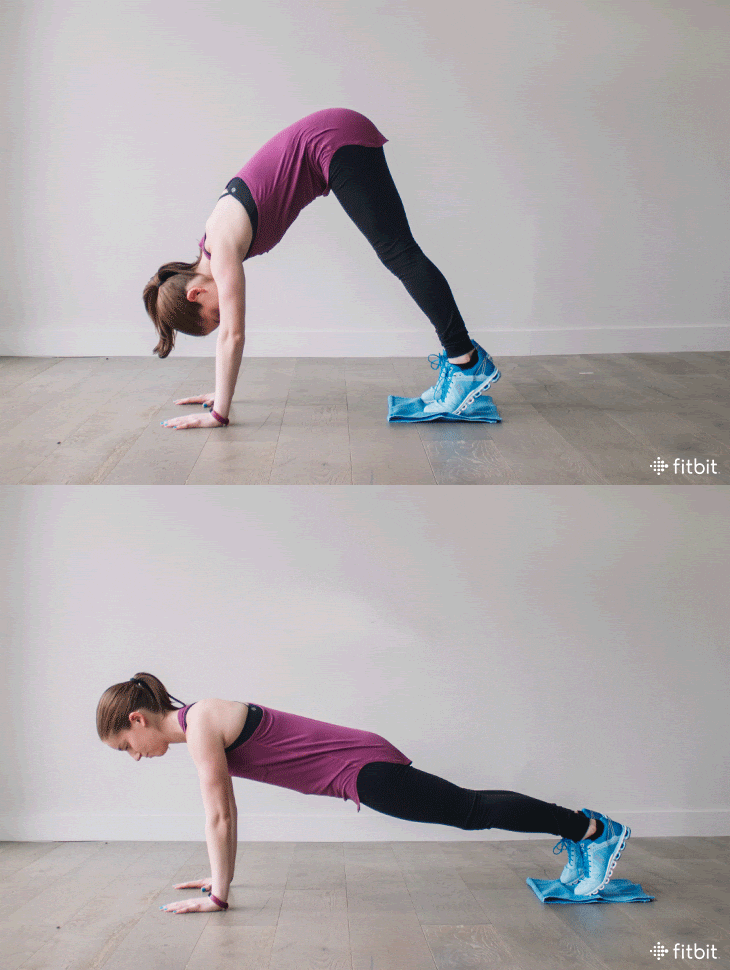
Photo from Danielle Kosecki of FitBit
9. ✅ Wall
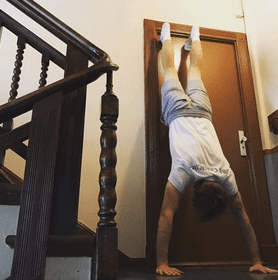
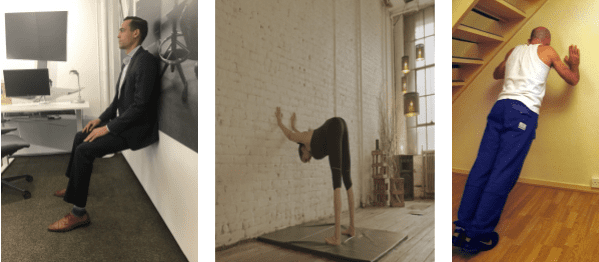
Walls are excellent for adding assistance and lessening the load to workouts that require balance. Number one exercise that would fall under this category is the handstand. Walls can also be used for stretching and other exercises such as wall sit hold.
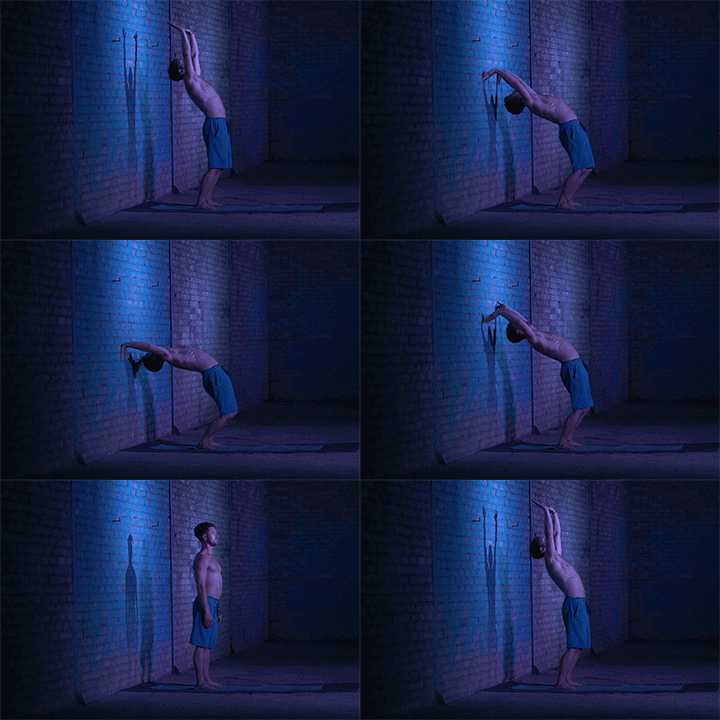
Any kind of sturdy wall will do. If you don’t have a vacant space in your venue (especially for those who are living in the city in a studio-type apartment), you can use a piece of sturdy furniture such as a tall cabinet. Ask also a training partner if they can spot for you if there’s no wall available. You also go out in the park and look there. A huge tree is decent enough to act as a wall for you.
10. ✅ Head Pads/Mats

One way to learn a handstand push-up is by first limiting the range of motion you allow yourself to move into. Using a head pads, you can lessen the distance between your head and the floor. This restricts your range of motion of your handstand push-up while keeping your head safe. The range lets you train and strengthen these initial easier positions and as you get stronger and more confident, you can remove and make the distance smaller. The head pads are also not so soft so you can place your head on the pads when going to the bottom part of the exercise.
An alternative would be a stack of pillows, but this stack might be a tad softer so you can’t push through your head to get a bit of advantage while you’re still getting stronger with your handstand push-ups.
Books are also a great option. Just stack them underneath then you’re good to go. Just don’t forget that books are actually for reading and not just for this workout!
11. ✅ Rings
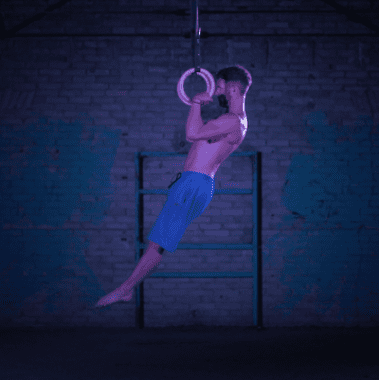
Based on gymnastic type of training, rings are the ultimate equipment for adding much more load to your exercises by adding instability and range of motion. Having to support yourself on the rings poses a challenge to most people. The key here is proper form, having good strength foundation and technique. This is not for beginners, but everyone could work their way to the top of the rings if time and effort are smartly allocated.
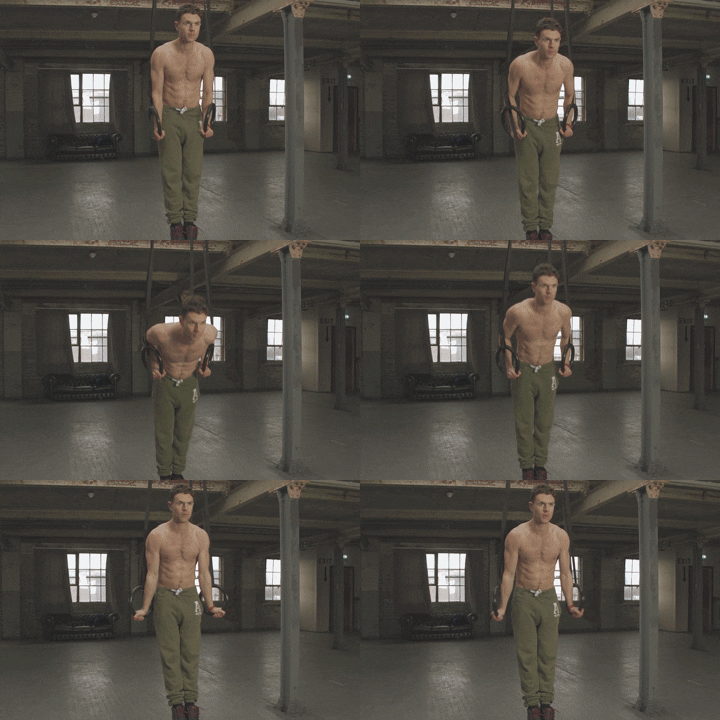
Unfortunately, it’s difficult and not ideal to make an alternative for the rings, but you can find alternative bases for the rings to hang on. Best option would be sturdy rafters or support beams in your house so you have a good height clearance for exercises that requires a minimum height. You could also hang them on pull-up bars or monkey bars in your park. If your ceiling is durable enough and you don’t mind some holes in it, you could add bolts where you can hang your rings. If you have enough time and resources, you could always construct your own sturdy gymnastics ring base. This way, you’ll have control of the height and location of the rings.
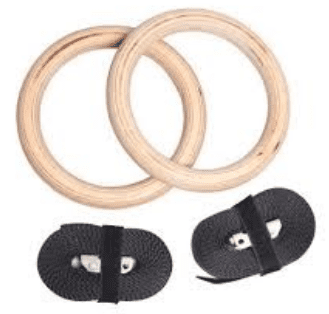
No need to worry finding the perfect gymnastics rings for you, there are tons in the internet you can choose from that’s affordable and gets the job done.
🎯To summarize:
Here’s the list again of the equipment you would ideally need the and possible alternatives you can use which is very much accessible for you:
💡 Key Takeaway: While equipment enhances your calisthenics training, you can start with creative alternatives using everyday items. The most important thing is to start moving and progress safely!
Now that we’ve given you an idea for the excellent and accessible alternatives, it’s time for you to train your heart out! 💪
Do remember that what I’ve shared here will only provide you with ideas of alternatives. If you can find something else that’s more suitable and accessible to you while maintaining the safety of your training, the better.
It’s also important to emphasize that even though these pieces of equipment aren’t mandatory, they will provide you with the most effectiveness, efficiency and fun for your calisthenics training.
So get prepare a list, and tick every piece of equipment here. They will help you break plateaus and more progressions so you can reach your calisthenics goal at the best time possible!
Stay strong and safe everyone!
Related Articles You’ll Love:
- Rules to Build Superhuman Strength with Calisthenics
- Optimizing Calisthenics for Muscle Building and Fat Loss
- The Ultimate Guide to Pull-ups Progression
Reference
A. Dickie, James & Faulkner, James & Barnes, Matthew & Lark, Sally. (2016). Electromyographic analysis of muscle activation during pull-up variations. Journal of Electromyography and Kinesiology. 32. 10.1016/j.jelekin.2016.11.004.
Ready to get started?
Get your free personalized training plan now
