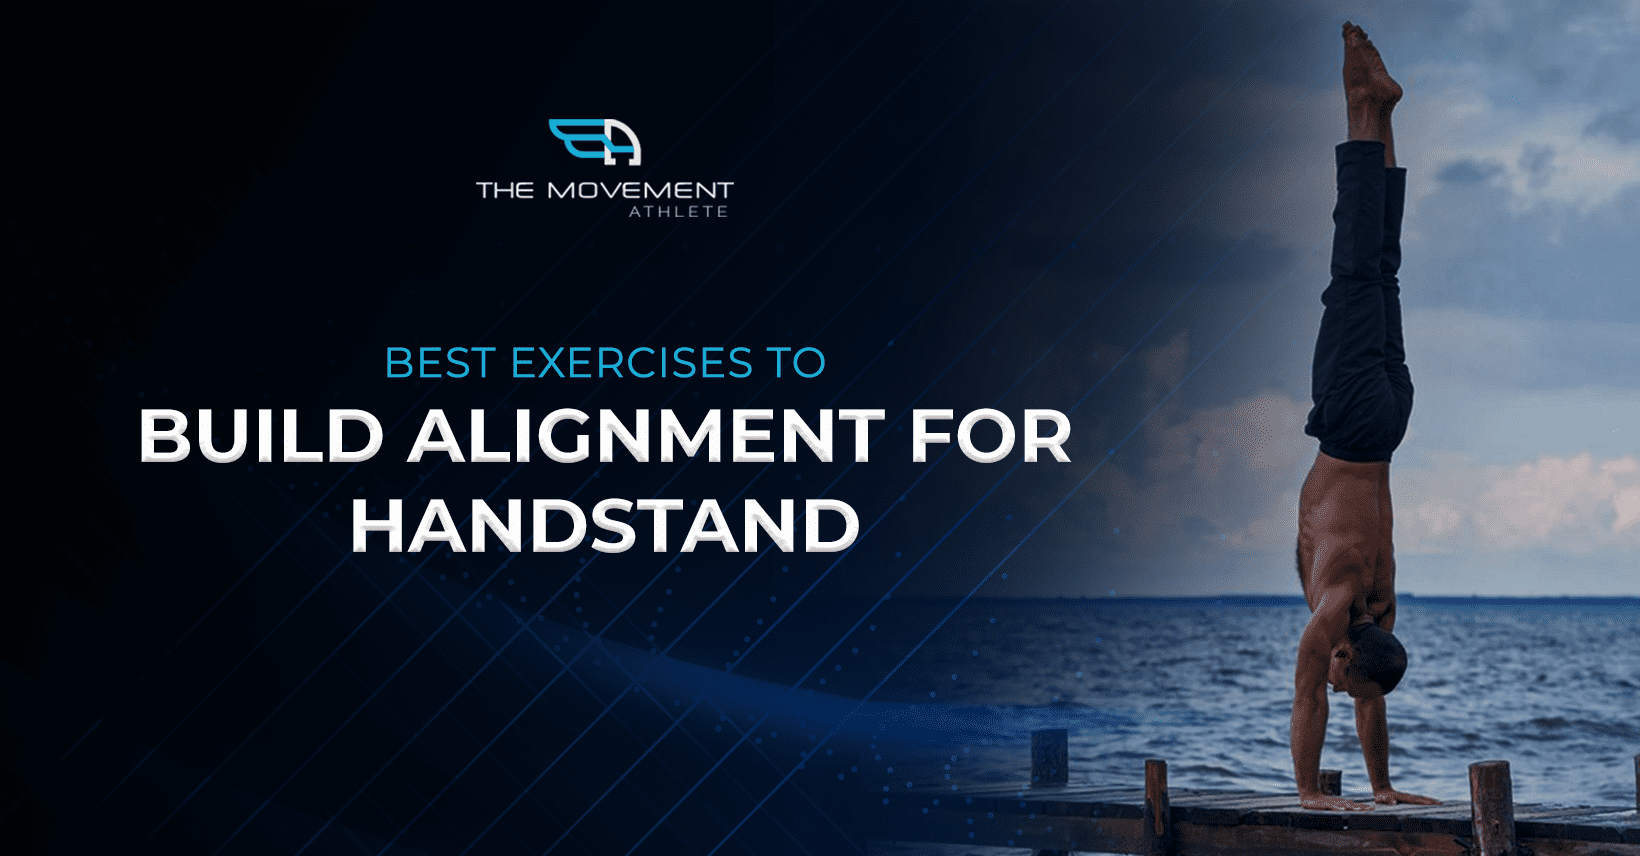

4 Best Exercises to Build Perfect Handstand Alignment
📖 Read Time: 8 Minutes | 🎯 Difficulty: Beginner to Intermediate | 💪 Focus: Form & Alignment
🏆 Join 100,000+ Movement Athletes!
Ordinary people achieving extraordinary results with progressive calisthenics—no gym required!
✅ Build strength
✅ Perfect alignment
✅ Master handstands
Takes 5 minutes • Personalized to your level • No credit card required
📋 What You’ll Learn
- Why Alignment Matters: Efficiency, safety, and aesthetics
- Exercise #1: Candlestick – Core and glute strength
- Exercise #2: Hollow Hold – Perfect body position
- Exercise #3: Laying Shrugs – Shoulder mobility
- Exercise #4: Wall Handstand Holds – Complete integration
- Step-by-Step Instructions: How to perform each exercise
Build your straight line handstand with proper handstand alignment! 🤸♀️🤸♀️
Handstand alignment should be in your checklist if you want to learn a perfectly straight handstand.
The key point to good alignment is being able to stack your wrist on top of your shoulders, hips, and toes: meaning perfectly straight line.
🎯 Why Perfect Alignment Matters
It’s not just about having perfect form for aesthetics (but looks way cooler anyway so aim for it 😎), having good alignment makes your handstand more efficient and easier to do!
- Less shoulder stress
- Reduced lower back pressure
- Decreased wrist strain
- Much more control
- Faster learning process
- Injury prevention
This minimizes any risk of injury making your handstand learning process faster and more enjoyable.
Here are the 4 best exercises to fix your handstand alignment:
🤜 Exercise #1: Candlestick
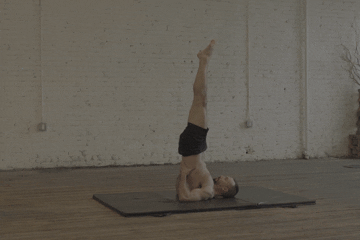
This exercise builds your abdominal, oblique and glute strength for you to hold a straight-line position. It looks pretty easy but don’t underestimate this exercise. Practicing this will catapult you forward in your handstand journey. Just be sure to engage your core while holding the position and avoid arching your lower back.
👍 How to Perform:
- Begin by sitting up straight, knees bent into chest, feet on the floor, and arms straight along your sides
- Roll back onto your shoulder blades as your legs go straight up
- Use your hands to support your low back to maintain that straight position
- Keep core and abdominals tight. Your body should be straight from your toes down to your shoulders
- Legs together and straight, toes pointed
- Hold position for specified time
🤜 Exercise #2: Hollow Hold
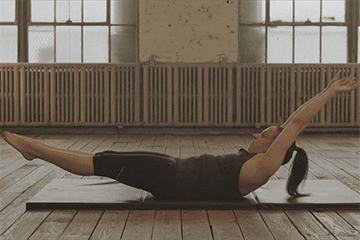
This is one of the most popular exercises known to help you in your handstand journey as well as other calisthenics skills. The hollow hold teaches proper posterior pelvic tilt while strengthening your core muscles. This is why it has very good skill and strength transfer to other calisthenics skills and exercises. You’re basically doing a handstand position while lying down when you’re in a hollow hold.
💡 Key Point: Make sure your back is fully flat on the floor during the hold. This ensures you’re engaging your core. If the exercise is too difficult, move your arms to your sides and lift your feet up until you find a challenging enough position.
👍 How to Perform:
- Begin laying on the floor, straighten arms and extend next to the ears
- Legs extend straight out, with toes pointed. Contracting the abs, and squeezing the legs together, lift arms, scapulas, and legs up a few inches off the floor
- Chin should be tucked in towards the chest, abdominals fully squeezed
- Hold position for specified time, then return to laying flat
🤜 Exercise #3: Laying Shrugs
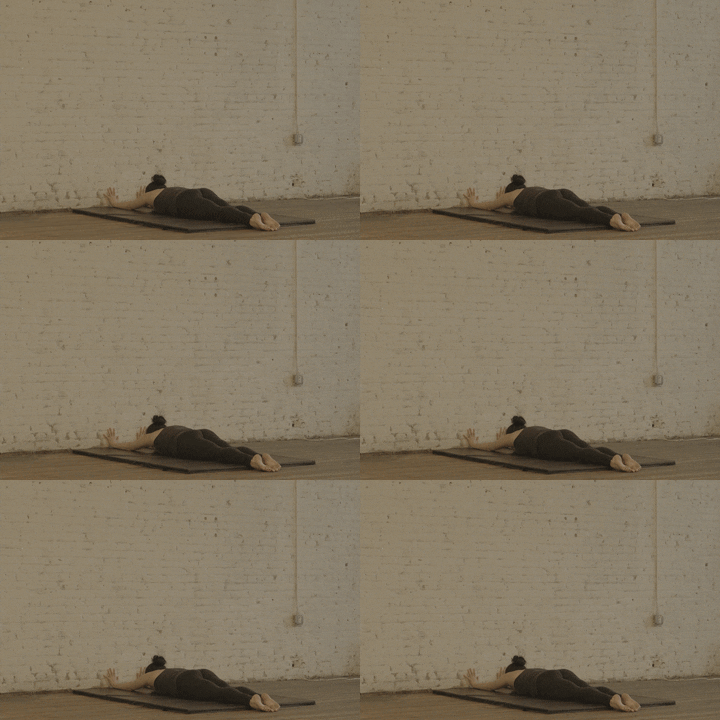
If your shoulders aren’t properly aligned during a handstand, your body will make any adjustments just to keep up in your handstand. This might result in arching of the lower back, more shoulder strength demand, or just plain lack of balance and control.
Laying shrugs, if done correctly, open up your shoulders so you can increase overhead shoulder mobility. And the more mobility you have, the more you can align your shoulders to the rest of your body.
👍 How to Perform:
- Lay prone in front of the wall
- Extend your legs out straight, with your feet squeezed together and toes pointed
- With your arms straight beside your ears, place your palms flat against the wall
- Tighten body and hold the position for specified time
- Press into palms against the wall with scapula upward rotation, then back to starting position
- Repeat shrugs
🤜 Exercise #4: Wall Handstand Holds
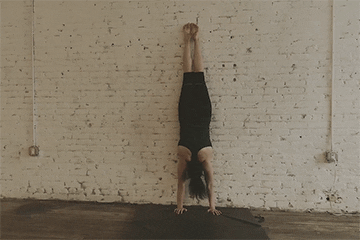
Facing the wall handstand hold puts the strength and alignment component together. The exercise also forces you to align your body or else you will fall forward. This is a great tool and a must-have in your handstand training.
⚖️ Facing vs Against the Wall
Facing the Wall:
- Prevents misalignment
- Forces proper form
- Great for alignment issues
- You’ll fall forward if wrong
Against the Wall:
- Best for beginners
- Reduces inversion fear
- Wall catches you safely
- Builds confidence first
👍 How to Perform:
- Begin standing with back to the wall
- Bend down and place your palms on the floor, wall walk into a handstand facing the wall
- Legs straight, abdominals tight, palms on floor shoulder-width apart
- Hold the position for specified time
📊 Training Program & Progression
📅 Sample Weekly Routine
Beginner (Week 1-4):
- Candlestick: 3 sets x 20-30 sec
- Hollow Hold: 3 sets x 15-25 sec
- Laying Shrugs: 3 sets x 8-12 reps
- Wall Handstand: 3 sets x 15-30 sec
Intermediate (Week 5-8):
- Candlestick: 3 sets x 30-45 sec
- Hollow Hold: 3 sets x 30-45 sec
- Laying Shrugs: 4 sets x 10-15 reps
- Wall Handstand: 4 sets x 45-60 sec
💡 Train these exercises 3-4 times per week with at least one day of rest between sessions.
📌 Key Takeaways
- Perfect alignment = efficient handstand – Less stress, more control
- Start with basics – Candlestick and hollow hold build foundation
- Shoulder mobility matters – Laying shrugs open tight shoulders
- Wall handstands integrate everything – Combine strength and alignment
- Consistency is key – Train 3-4x per week for best results
- Progress gradually – Build time slowly to avoid injury
⚠️ Common Mistakes to Avoid
- Arching the back in candlestick – keep core tight
- Lifting back off floor in hollow hold – stay flat
- Using momentum in laying shrugs – control the movement
- Kicking up too aggressively to wall – walk up slowly
- Holding breath during exercises – breathe naturally
- Rushing progression – master current level first

🔥 Limited Time: Free Personalized Assessment ($197 Value)
Get Your Perfect Handstand Training Plan
Customized Training in 5 Minutes
⭐⭐⭐⭐⭐ Join 100,000+ athletes mastering perfect handstand form
✅ Complete handstand assessment ($197 value)
✅ Personalized alignment plan ($297 value)
✅ Daily adaptive workouts ($47/month value)
✅ Form correction videos ($297 value)
✅ Progress tracking system ($97 value)
🎆 Total Value: $935 – Yours FREE Today
🔒 100% Privacy Guaranteed • No Credit Card Required • Unsubscribe Anytime

“These 4 exercises transformed my handstand completely! I went from a wobbly banana shape to a rock-solid straight line in just 6 weeks. The personalized progression made all the difference!”
— Emma, 29, Yoga Instructor